This blog explains about how to configure Ecilipse IDE (Integrated Development Environment) with Webcenter Sites. So that we can easily edit .jsp files using Eclipse.
- Download Ecilipse Indigo Software
http://www.eclipse.org/downloads/download.php?file=/technology/epp/downloads/release/indigo/SR2/eclipse-jee-indigo-SR2-win32-x86_64.zip
- Download Webcenter Ecilipse plugin from below
https://drive.google.com/file/d/0B2d4nezoFBCONXRQTTd1eTBYcUk/view?usp=sharing
- Extract the downloaded Ecilipse ZIP file and copy the extracted two files to below Eclipse software downloaded directory
C:\RKP\SW\eclipse-jee-indigo-SR2-win32-x86_64\eclipse\plugins
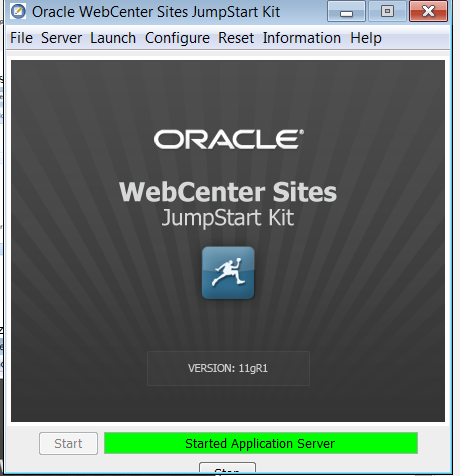
- Launch the Eclipse, Double click on 'eclipse' icon as shown below
 - Change the prospective, Click on 'Other' as shown below

- Click on 'Oracle Webcenter Sites' prospective as shown below

- Enter the 'Webcenter Sites CS' URL for instance and rest of other values as shown below.
Ensure 'Webcenter Sites' connection as highlighted in yellow color as shown below.

- After successful above step, you will see Eclipse as shown below, Click on 'Synchronize Data' as circled below.. This will open a window with all the asset model in Webcenter Sites, select the one which you want to edit and click on Ok.

- Whatever changes you made in Eclipse automatically synchronize with Webceter sites.
Note : Eclipse plug in is useful to edit .jsp files rather than editing other asset model.
- Download Ecilipse Indigo Software
http://www.eclipse.org/downloads/download.php?file=/technology/epp/downloads/release/indigo/SR2/eclipse-jee-indigo-SR2-win32-x86_64.zip
- Download Webcenter Ecilipse plugin from below
https://drive.google.com/file/d/0B2d4nezoFBCONXRQTTd1eTBYcUk/view?usp=sharing
- Extract the downloaded Ecilipse ZIP file and copy the extracted two files to below Eclipse software downloaded directory
C:\RKP\SW\eclipse-jee-indigo-SR2-win32-x86_64\eclipse\plugins
- Launch the Eclipse, Double click on 'eclipse' icon as shown below
- Click on 'Oracle Webcenter Sites' prospective as shown below
Ensure 'Webcenter Sites' connection as highlighted in yellow color as shown below.
- After successful above step, you will see Eclipse as shown below, Click on 'Synchronize Data' as circled below.. This will open a window with all the asset model in Webcenter Sites, select the one which you want to edit and click on Ok.
- Whatever changes you made in Eclipse automatically synchronize with Webceter sites.
Note : Eclipse plug in is useful to edit .jsp files rather than editing other asset model.